Lets paint SpongeBob SquarePants!

Growing up, SpongeBob SquarePants was a very popular show to all. I watched it everyday and bonded with family and friends through it. I liked to draw as a kid even though I wasn’t very good at it. I always thought drawing Spongebob was easy. To my surprise, it wasn’t. There are so many details to his character. So I challenged myself by painting him, with a twist. Since I love painting and spongebob, I decided to combine them and create some Beautiful that I can now teach you.
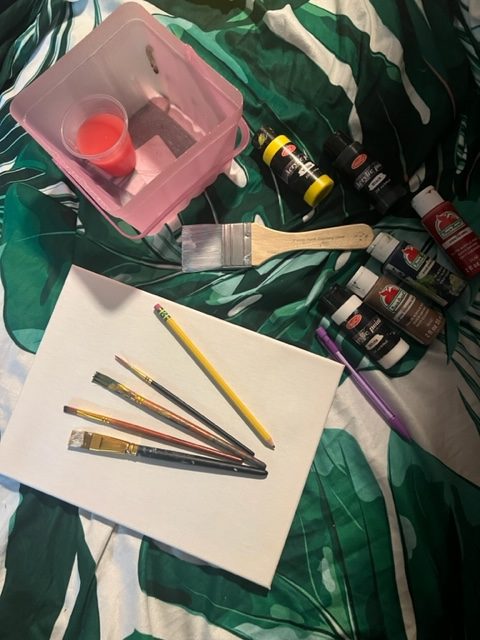
Here are some of the supplies that you will need.
Paint brushes (some that are a little smaller for some of the line work)
Paint (black, yellow, blue, fuchsia, white) and don’t be afraid to mix colors!!
A canvas (dollar tree has some great ones!!)
Clothes that you don’t mind getting paint on
A cup of water
A pencil (to sketch out your painting)
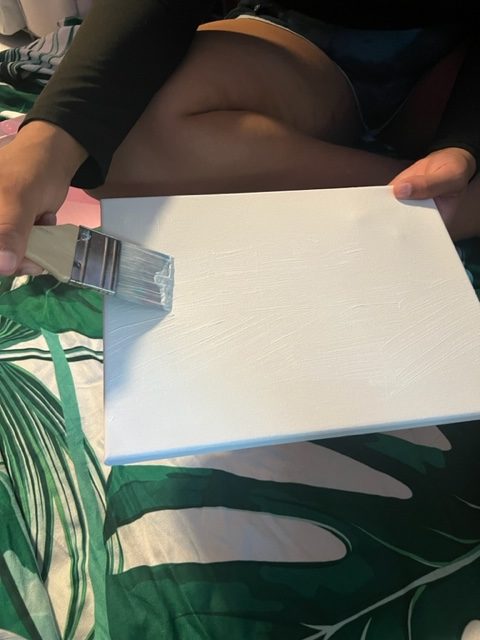
To begin this painting you want to prime your canvas by using a white paint of your choice. This is just to make sure that there are no marks or streaks. After the canvas is dry we will now paint the canvas all yellow because after all that is SpongeBob’s color.

After that coat is dry we can now start the sketch of our SpongeBob. So to begin drawing our SpongeBob, we will go in and draw two Circles in the middle of the canvas. Once you complete the two circles draw a line in the middle of them to look like hooded eyes. Since the SpongeBob has a little twist you want to make him look a little tired. Now under those lines that you just made, make two half circles in each eye to look like pupils. We all know spongebob is a very smiley guy, so let’s create a huge smile with the width being bigger than both the eyes. Once you have done that we make his cheeks visible over his smile lines. SpongeBob has two visible front teeth, so we will make two rectangular shapes with a small Gap in between right below the smile. Between the two eyes you will make an Oval without the bottom sides touching to create the nose.

Now for the best part, actually painting! Since SpongeBob’s features are outlined in Black we are going to go in with our black paint and outline his eyes, nose, cheeks, smile, and teeth. After that we will now go in and paint the teeth white. Be very careful, and make sure that the black outline is dry, just because it will smudge into the white. When you are you are finished with the white let’s go on to the pupils and paint them blue. Then underneath the blue we are going to make the rest of the eye A shade of fuchsia. Then for the last and final step you will add little red dots as freckles under his cheeks.
Hope you all enjoyed painting with me!!
